A Raspberry Pi with a working Raspberry Pi OS installation
Some sort of Internet access
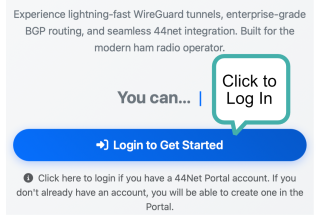
If you haven't set up your Portal account or verified your callsign yet, see 44Net: Get Started for instructions.
Install Dependencies
Step 1: Ensure your OS is up to date
Open a terminal and run sudo apt-get update, then sudo apt-get upgrade.
Step 2: Install wireguard and systemd-resolved
Run sudo apt-get install wireguard systemd-resolved, then restart your Raspberry Pi. Restarting is required for systemd-resolved to function.
Step 3: Verify that systemd-resolved is enabled
Run systemctl status systemd-resolved. If the unit is running without issues, there will be a green asterisk or circle at the top left. The second line, beginning with "Loaded," should indicate that the unit is enabled. If it's not, run systemctl enable systemd-resolved to enable the unit. This will ensure that the unit starts automatically when your Raspberry Pi boots from now on.
The third line, beginning with "Active," should indicate that the unit is active (running).
If it's not, run systemctl start systemd-resolved to start the unit. This will ensure that the unit is currently running.